|
The
making of the drawing of the icon too paint is a work of the painter. The
paintersbook of Dionysius of Fourna (probably written between 1730 and 1734)
discribes the technique already. Dionysius’ book is a compilation of manuals for
icon painters from the 12th century. You can say that the making of
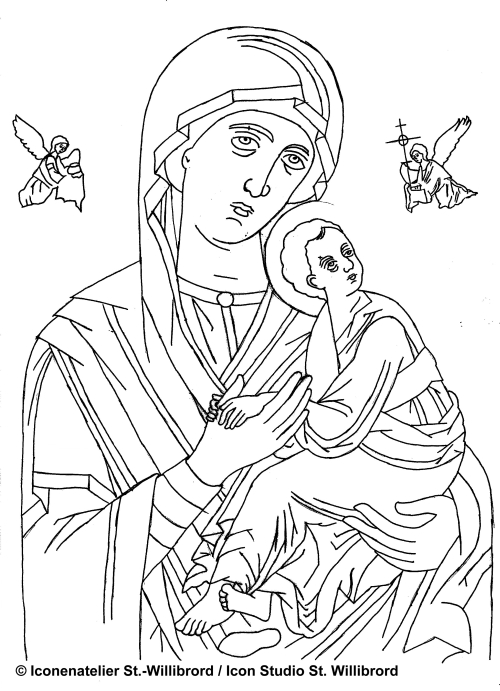
the drawing a real Greek painters custom is. The book of Dionysius describes
that an in oil drenched sheet of paper was laid over the icon and the main lines
were transferred. Nowadays we use a sheet of transparent paper over a picture of
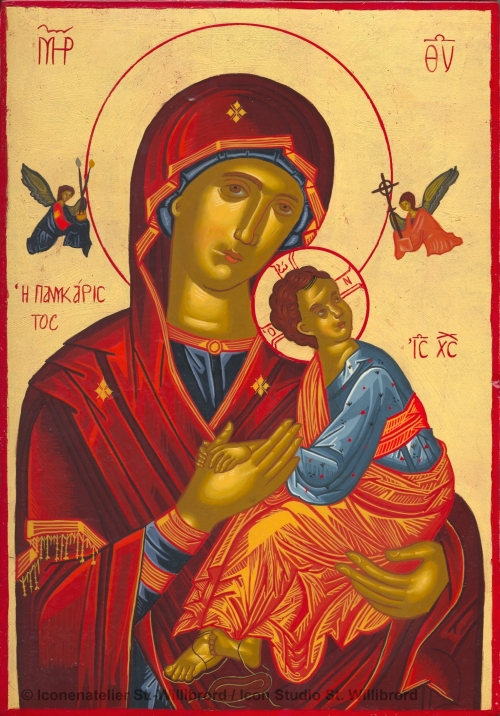
the icon in a book or a postcard. The picture on the right shows the drawing of
the icon of the Mother of God of the Passion. Now the drawing has to be enlarged
or reduced too the size of the "icon board". |
 |
| |
 |
The
making of an "icon board" is a, in comparison of the whole process, a time
consuming part. When painters speak of "icon board", they mean a piece of wood
prepared to paint an icon on. Medium density fibreboard is not suitable; it is
more glue than sawdust. In addition, the piece of wood may not curve when a lot
of water is applied. Mahogany is the best sort of wood for "icon boards". An
icon is valuable so you have to use materials of the best quality. On the board,
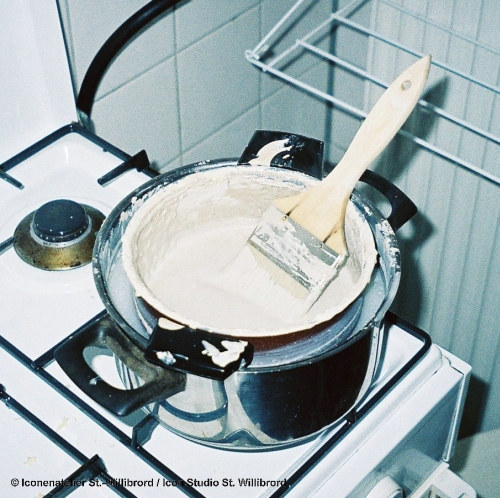
with glue obtained from hides, you paste a piece of cloth. Then you put, in
several layers, a glue-chalk-mixture on the cloth. This glue-chalk-mixture has
to be heated in a water bath (see the first photo on the left). After everything
dried well the chalk layer is sanded until it is very smooth.
|
| |
|
After
sanding, you transfer the drawing on the "icon board" by carbon paper and the
painting part of the icon begins. Gilding is in my opinion a part of the
painting process, a specialistic part. Gilding demands experience. There are
several ways to gild. The poliment gilding method was used in early days, and is
very labour intensive. Nowadays there are other gilding methods, which are less
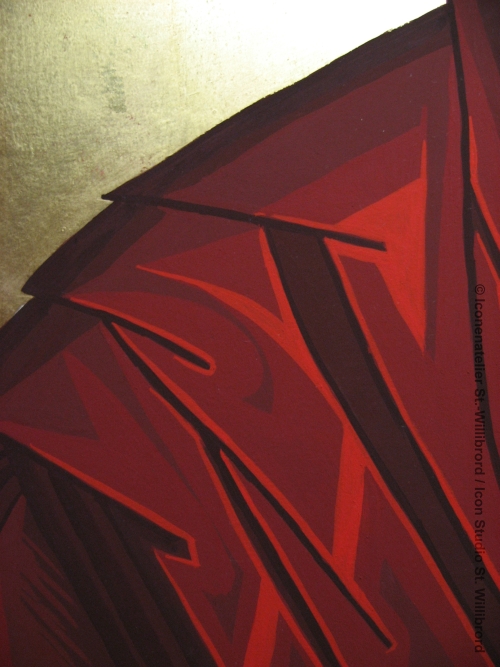
labour intensive. One of them is the water based mixtion method. You paint the
water-diluted mixtion on the "icon board" before you lay the gold on the "icon
board" (first photo on the right). The gold has to be of the best quality too.
The carat of the gold is therefore as high as possible, 23.75 carat. The nimbi
are painted with red paint. All paint used in icon painting has egg yolk as
binding agent. This egg yolk is in a certain ratio mixed with a preservative. In
the Greek tradition, this preservative is vinegar. Icon painters speak often
about "the egg" when they mean the binding agent. "The egg" is added directly to
the red pigment until the paint has a certain viscosity. |
 |
| |
 |
You
make the paint for the garments as previous described. This way of making your
paint is used in the Cretan School of the Greek tradition. In the Russian
tradition, the way of making paint is like this. A paste of pigment and water is
made before "the egg" is added. In the colour needed for a garment now there can
be more then one pigment. Two or three pigments are common. Even four or more
pigments are possible. The garments of a person on an icon are in several parts
constructed. The photo, second to the left, shows the structure of the garments.
The third light, the brightest light, has the smallest area. Darker lights, the
second and the first light, have a greater area. In the Cretan School, you paint
all garments like this.
The way of painting the skin parts is similar to the way of painting the garment.
However, the transitions of the lighter colours are gradual (shown in the second
photo on the right). There are two different types of beards, a ‘round’ beard
and a ‘pointy’ beard. When the hair and beards are painted, the icon is nearly
finished. |
 |
| |
 |
The
last actions of painting to the icon are the painting of the frame and the
writing of the name or names of the saint or saints or the event. The colour is
the same as the colour used with the nimbi. The name, names or event are painted
directly on the gold. With the painting of the name, the icon is finished.Now
the icon has to be varnished. You can do this with different materials. After
varnishing, the used colours are brighter then before varnishing (see third
photo on the left). |